Showing posts with label clothing. Show all posts

Wednesday, July 12, 2017

Today, I forgot to wear shoes

I don't wear shoes much. It was one of the things I liked the most about working from home, actually. In the summer I go barefoot, and in the winter I wear fuzzy boots, and in my book that makes life just about perfect. Since its July and I am hanging out at home with the tiny human most of the time, I don't wear shoes, except when we go out on errands or to play at Target because we're bored and it has pretty things. 

Today was an errand day. We had an appointment for the dog to get groomed at 8:00, which wouldn't be so bad except that the place we go is 45 minutes away (I know, you don't have to tell me. I do this to myself. What the heck kind of person drives 45 minutes to get their dog groomed? The kind with a neurotic shih tzu who has people issues.) I got us up, and dressed and fed and dressed again after a diaper blow out, and got the dog's crate in the car, and her leash and the baby carrier and the diaper bag and the bottle I was going to feed the baby after she woke up from (hopefully) napping in the car on the drive there. I even took out the trash, rinsed the can since the bag had leaked, and managed to grab a gatorade for the drive. I was killing it as a mama this morning. 

The drive itself was good. The baby didn't sleep, but she didn't cry, so that's always a win. The country station played good music and no commercials, and the dog didn't run in place in her crate like she does sometimes when she is bored in the car. We got to the groomer at 7:55, giving us just enough time to walk the dog a bit to help her go to the bathroom before we dropped her off. I turned the car off and fumbled around on the floorboards for my shoes, since I sometimes drive barefoot in the summer. 

But I hadn't brought any shoes. 

After gathering everything so meticulously... I had forgotten shoes. SHOES. Are you kidding me? I hadn't felt tired or compromised up until that moment... but maybe I'm a little more exhausted than I think I am. Shoes. I forgot my own shoes. 

Fortunately, my groomer is amazing and happened to come out just as we got there, and upon learning of my footwear predicament said she would take the puppy on her potty break before taking her in. I believe her exact words, once she was done laughing, were 'well, you're officially a mom now.' 

So there you have it. Proof of my motherhood. I have a puppy with a cute hair cut, an adorable kid, a lack of mental fortitude, and slightly sore feet. I'll take it. 


Wednesday, August 14, 2013

DIY 2 Seam Infinity Scarf

Over the weekend, I busted out Ol' Bessie, which is what I have decided to call my very old but delightfully functional inherited sewing machine. I had a specific project that I was tasked with that made facing my old enemy necessary, but its very hush hush, so I won't be sharing about it just yet.

As I'm sure you remember from my last few forays into the sewing world... I'm not very good. And I have to call mama artist at least once, if not fifty times, to ask simple questions like "how do you thread this thing" and "oops. is that supposed to come off". This go round even featured papa artist as a camera man while mama artist and I face timed... and discovered my underlying sewing issue.

You have to put the foot down.

I could just die of embarrassment- I mean, who DOESN'T know that? Of course you need to put the foot down. Otherwise you get really shoddy work, like everything I've made in the last 2 years.

Anyway- now that I've bored you with my stories of being a sewing moron, the promised tutorial for making this bad boy:


2 Seam Infinity Scarf

What you need:
1.5 yards of fabric (I actually used 1 and 3/8, because it was the end of a bolt. It was knit. And striped)
Pins
Thread
Sewing Machine
Scissors


What you do:

1). Firstly we need to cut your fabric. Fold your fabric in half (it probably is already from the store, but just in case), then fold it in half again. Your resulting piece will be a few inches wider than a foot. Using the fold as a guide, cut your fabric down the length, so that you end up with 3 pieces (one of which is still folded. You could cut it into 4 pieces and sew them together, but it very clearly states in the apathy handbook that you will be flogged for such practices.


1.5). Make sure to face that the inside of your folded fabric is the two pretty sides- so that when you turn it right side out later you get the pretty vibrant side of your fabric rather than the muted side.

2). Pin the non-folded sides together, pinning the top and bottom layers together.


3). Sew your pieces together, using the 5/8 marking on your sewing machine. Make sure to start, then back stitch, then go forward again, to keep things secure.


4). After you sew the length of your fabric, trim your threads. You will be left with a loooooong fabric tube.


5). Turn your tub right side out- and center your seam on the "back"

6). Tuck one end of your tube into the other, pinning them together on the same side as the seam you just finished. Something I wish I had done- make sure that your edges are relatively straight. If not, take a minute to trim them until they are pretty straight.


7). Sew your ends together.

8). Trim the fabric as close to your seam as possible. This actually worked quite a bit better than I expected, so that was an exciting moment.


Tadah! A 2 seam infinity scarf. Brought to you by not-a-seamstress. You can wear it 3 ways- which makes it thrice as awesome, no?


And in case you were wondering what the puppy gets up to when I'm feeling crafty... she's never far away.


Wednesday, June 19, 2013

Yellow Polka-Dot Hunt

Recently, I've been on the hunt for a new swimsuit. That's not why I've been a horribly slacky blogger (that's just because I am a horribly slacky blogger, and have been busy with the shop YAY)- but its something that I've been doing in between orders and long puppy walks. Anyway. 

I am in need of a swim suite that doesn't tie. I have been informed that things that tie tend to disagree with waves, so in preparation for any waves I may meet, I have been searching for a non-tying bathing suit. And possibly a suit that isn't a bikini. Because options are good. Right? 

The point. Right. I was getting to a point. In a flash of kismet- a few friends of mine have been talking about Reys Swimwear recently, and I thought I would pass along these gorgeous little morsels to you, my bloggy buddies:


I actually bought a lovely little number from Target:


While at Target, I discovered that this year's swimsuit trend is all about the push-up. Does anyone else want to skip this trend? 

Wednesday, June 5, 2013

Mean Ol' Target

Target is one of my absolute favorite places. I actually have to avoid it for the most part, lest I spend the smartest and I's retirement there... but I love it. Usually.

Yesterday, I grabbed some long jean shorts without trying them on. I was too busy doing a happy dance for long shorts being back in style to actually try the things on... but I grabbed the same size as the shorts I was wearing. I brought them home...

and they didn't fit.

So this morning, I dropped by and returned my non-fitting shorts. And went to the rack and grabbed a size up. And drug myself to the fitting room and tried them on.

And they didn't FIT.

I revisited the rack and grabbed a size above THAT.

And they DID fit.

But they are 5 numbers above the size I usually wear. Which is like 2 sizes. Mean. Mean ol' Target, trying to give me a complex.

For those of you with gargantuan legs like mine- Target has long jean shorts! Yay! Just... um... don't take the sizing personally.


Thursday, May 23, 2013

The Almost Dyed Shorts Tutorial

Today was supposed to be the day that I shared how to turn black skinny jeans into teal shorts. I was going to share all of my secrets and gift myself an adorable set of shorts that are actually long enough to cover more than 4 inches of my grotesquely long legs. I was going to sit back and revel in the knowledge that I had actually provided you with a blog post worth reading. I was going to be a star.

I was moderately to completely wrong.

Apparently... I'm a little heavy handed with the ol' bleach when it comes to dying clothes. Who knew, right? So, instead of sharing a tutorial about dying shorts, I have this tutorial for you instead:

How to Remove the Butt from your Pants in 5 minutes or less:

1). Cut pants to long short length
2). Put on gloves, locate bleach hiding in cabinet
3). Put shorts into large clothing-dying-bowl in sink
4). Pour half a jug of bleach over said pants
4..5). Choke on the sudden and very strong smell of chemicals
5). Fill remainder of bowl with water
6). Leave pants soaking and take dog for walk
7). Come back and rinse bleach (wearing gloves)
8). Put pants in washer
9). Take pants out of washer 15 minutes later
10). Ta-da! Butt-less pants.

Aren't you glad you have me around?


Friday, April 12, 2013

DIY: From Shirt to Scarf

That's right folks. The "this to that" series is back! Feel free to applaud. Or if you are an in setting that applause wouldn't be considered appropriate, feel free to do an internal happy dance. Go ahead. I'll wait.


Recently, I have been thinking a lot about saving money and about how to get the most clothing bang for my buck (as you might recall from this post). I had a big bag I was about to drop off at Goodwill full of clothing that I purged from the smartest and I's closet (don't tell the smartest, but roughly 1/3 of them were actually his), but before I shoved it in my trunk, I did a quick once-over to make sure there wasn't anything that I thought I could salvage and use for something else.

Peering at me from the very top of the bag were a couple of the smartest's plaid flannel shirts. That I bought him. Because I love plaid. Know who doesn't so much love plaid? The smartest. I rescued the shirts, and started pondering what I thought my (ahem, limited) capabilities would allow me to make out of them.

After much ado, I decided to attempt to make an infinity scarf. I decided this for two reasons. 1). I love infinity scarves, probably because I have a neck complex. 2). It would only require that I sew one side of one thing. It just doesn't get much easier than that folks.

Ok- down to brass tacks:

What you need:
- Old shirt you wish to wrap around your neck
- Sewing machine
- Scissors
- Pins
- Seamripper (well, you might not, but I almost always do)

What you do:
1). Lay out the shirt and decide how thick you want your scarf to be. Keep in mind that we will be folding over an inch or two for making the edges pretty. I used the bottom of the shirt as one side, even though it was slope-y, because I only wanted to do one side of sewing. Feel free to be far more adventurous than I.


1.5). Button your shirt. Or at least, I did. Because I am hopelessly lazy and didn't want to cut the sides separately. In case you were wondering, this DID bite me in the butt a little bit.

2). Cut shirt in straight line from side to side. Our dining room table actually has grooves like the super legit fabric table at Hobby Lobby does. Which is great for cutting things... but not so much for keep food from being perpetually lodged in the cracks.


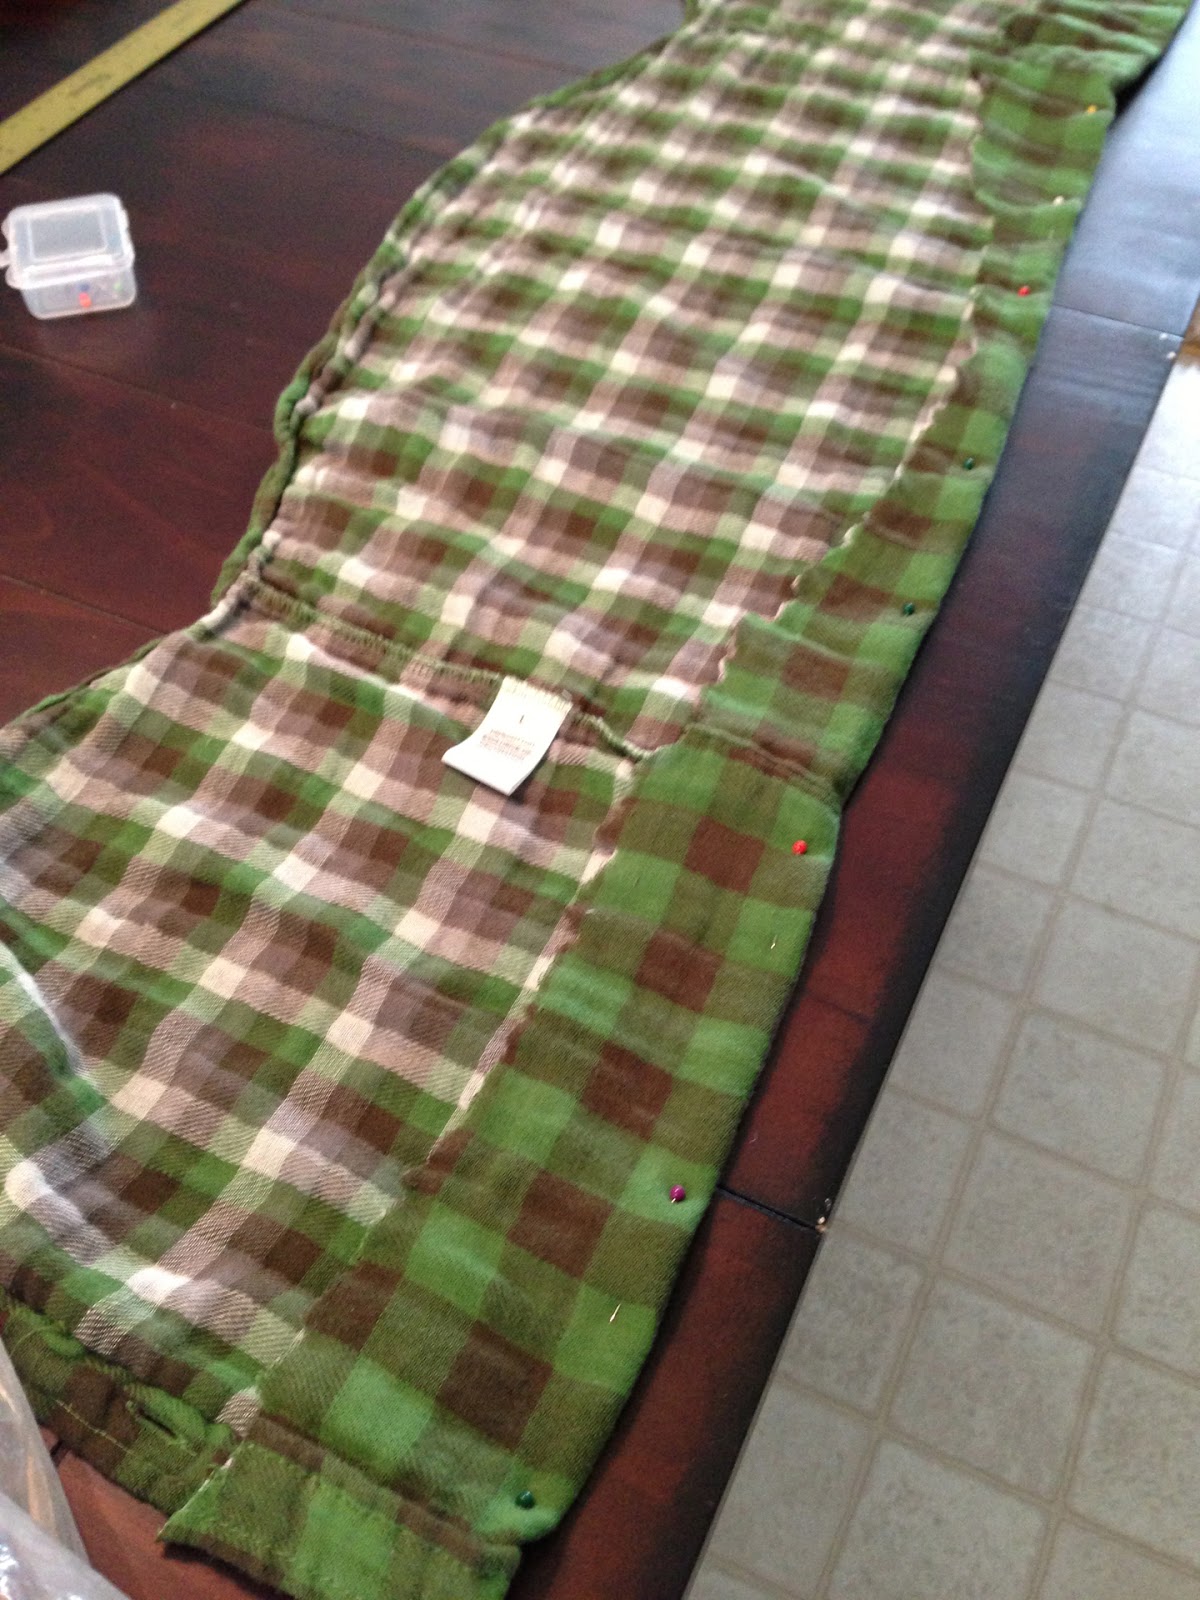
3). Unbutton shirt and lay flat

4). Fold over fabric so that we can sew the ragged edge and make it pretty. At this point, I discovered that when I say "cut straight", I actually mean "cut unevenly and end up with 2" worth of variation between the highest and lowest point". So I had to fold over a bunch more than you will. I used the pattern of the plaid as my folding guide, rather than measuring. It seemed to work pretty well- but your shirt might not be plaid. In that event, measure as you pin.


5). Sew. Straight. Ish. I used white thread, because the last time I attempted to thread my bobbin it took roughly 4 hours, which culminated in my face timing mama artist begging for help. The white thread will probably be staying exactly where it is for awhile. You'll note that my seam isn't straight. I would like to blame that on the fact that the puppy got really interested in what I was doing about 1/2 of the way in, and came over and started pushing on my pedal foot as I tried to regulate my speed.


6). Do whatever you do to finish off your seam. I sewed, then reversed and sewed backwards, then sewed forwards, then tied off my thread. Is this the appropriate finishing method? Most definitely not. But I'm sort of rebellious, so I didn't take the time to google what the appropriate action was.

7). Voila! A lovely new scarf for you to wear. The perk of this scarf is that you can unbutton it and wear it straight, like a normal scarf, or you can wear it as an infinity scarf. Mine wraps around my neck twice, but it is a wee bit tight, so I might suggest using a larger shirt than I did. Or having a thinner neck that I do. Either one.


To keep things perfectly honest... I am pretty sure I literally took at least 70 photos to get those three sort of ok ones. 70. It was ridiculous. About halfway through, the puppy came over to see what I was doing, and I felt appropriately judged.

What have you been stealing from your husband's side of the closet and mutilating lately?